A path to wellness through herbal tea
Chapter 1: The backstory…
I’d like to share my tea-journey with you. But let’s start at the beginning. A year or two ago, I had a cold and needed to go to the doctor. As part of this visit, the doctor measured my blood pressure. He found it to be dangerously high for my age. The doctor instructed me to have it checked again. It, unfortunately, remained too high. The doctor said that if I wasn’t able to make sufficient lifestyle changes to lower my blood pressure, I would have no option but to take prescription medication.

This gave me quite the fright and I was not sure what I should do.
The problem is that I am not someone who believes in diets. When my brain knows that it is not allowed to have something, it wants it even more. So instead of cutting certain things out completely, I decided to still eat what I love but to limit my sugar, coffee and salt intake.
Even after these changes, my blood pressure did not change much. The doctor encouraged me to persist with lifestyle changes as he said that once one starts with anti-hypertensive medication, it is difficult to stop using them.
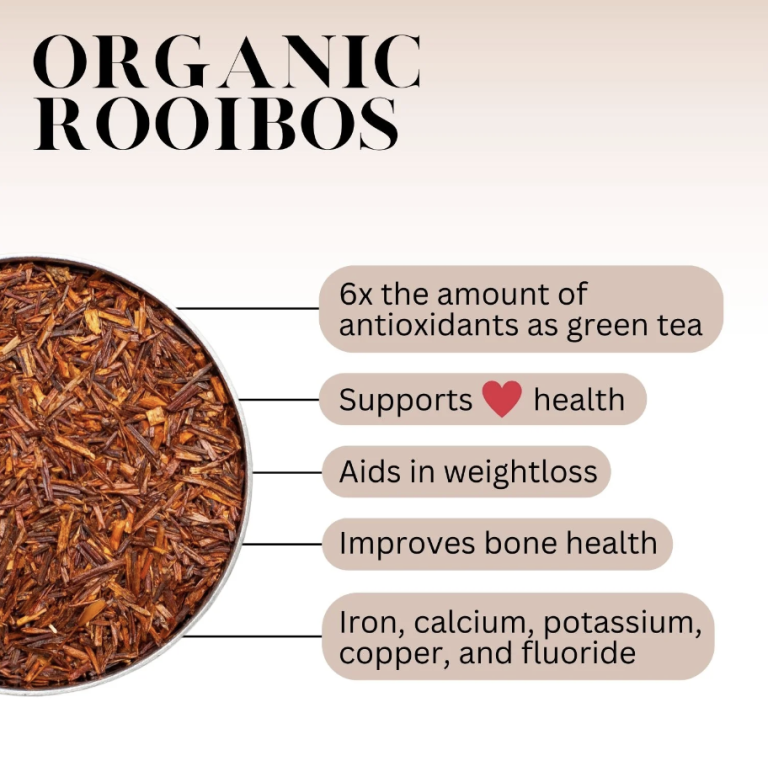
I decided to limit my coffee to one cup in the morning and began to drink Rooibos tea with honey instead of sugar. And lo and behold, the next time I went to the doctor my blood pressure was significantly reduced and I was back in the healthy range. Consequently, I became a firm believer in the health benefits of Rooibos tea and honey.
Chapter 2: Choose your flavour!
And this is where my journey into the wonderful world of flavoured teas and iced-teas began! I realised that I would quickly become tired of just drinking plain Rooibos (as delicious as it is) and decided to experiment a bit. I attended the 2019 Appetite Fest, where I came across the Carmien tea stand. They produce Rooibos tea, but with a multitude of different added flavours to choose from, such as hibiscus, moringa & acai berry and ginger & chilli.

I thoroughly enjoyed tasting all the different flavours they had on offer and ended up stocking up on quite a few. This inspired me to attempt to grow herbs for making flavoured Rooibos and iced-teas. But now the question was, where does one begin? I then decided to take things step-by-step. Which meant I that the first thing I did was to work my way through Carmien’s whole Rooibos range to determine which flavours I liked. I also experimented with these to see which ones would make good iced-teas.
After deciding which flavours I enjoyed, the next step was to make a list of the herbs, flowers, spices and fruit that I could grow to make my flavoured Rooibos teas:
Next, I suggest to head to your local nursery and ask about which herbs and flowers are available, what their growing conditions are (full or partial sun, soil requirements, watering requirements, size of the grown plant etc). In the next chapter, I will be demonstrating how to prepare the soil for your tea-garden.
Chapter 3: Information gathering
After deciding what herbs and flowers you want to grow, head to your trusted local nursery ask about the following
1. which herbs and flowers are available,
2. what their growing conditions are
2.1 full or partial sun,
2.2 soil requirements (pH & type of compost)
2.3 watering requirements
2.4 size of the grown plant
2.5 whether the plant will grow well in a pot. (You can use these to strategically landscape your tea garden)
(For a great resource on all things herbs, we would suggest visiting our friends over at Healthy Living Herbs. You will always find their extensive range of herbs in-stock at Heckers.)
From this information, you should be able to have an idea of the area in your garden that you will.
Chapter 4: Soil preparation
In this step, I will explain the basics of getting your soil ready. This is an extremely important step because the better your soil quality, the better your plants will grow and the better a harvest you can expect. (This applies to the rest of your garden too!) However, I leave the bed to rest for a week or two before I begin to plant as the high nitrogen content of the kraal manure may burn the plants’ roots.
4.1 How much soil will I need for my tea garden?
Before you head to the nursery to purchase soil components, you need to roughly measure the surface area. I suggest using the following ratios for every 1m2 of soil: 1 to 1½ bags of compost, 1/3 bag kraal manure and 3 hands of bonemeal. The amount of compost you will use will depend on the quality of the soil you will be adding it to. The poorer the soil quality, the more compost you can use. For compressive information on all things soil-related you can have a look at this article.
For my tea garden, I will use 1 bag of compost, at 1/3 bag of kraal manure and a small bag of bonemeal.
4.2 How do I prepare the soil?
Here are the basic steps for preparing soil:
1. First, I pull out any weeds that are in the bed and loosen the soil.
2. Next, I loosen the soil with a garden fork. If you come across any earthworms, don’t harm them, please. They will only benefit your garden!
3. Then I add the compost, kraal manure and bonemeal. This, I mix in well with the fork to a depth of about 30cm.
3. Next, I level the soil and clean up the edges of the bed.
4. This is followed by a thorough watering. I will leave it for a week or two and keep it moist throughout.
4.3 Planting Buchu
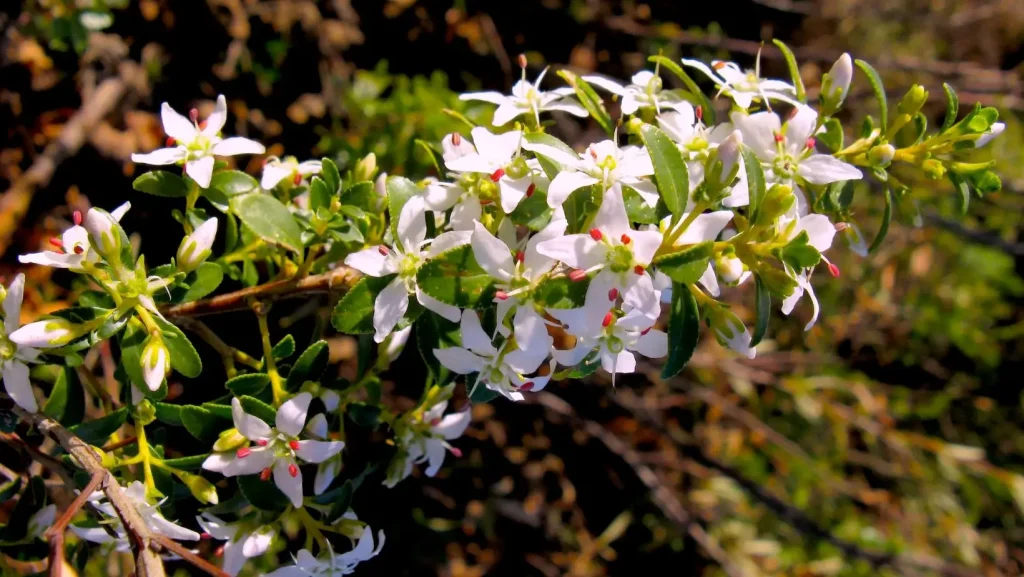
 The reason that I am planting my Buchu in a pot is that it prefers more acidic soil. Furthermore, planting it in a pot allows me to move the plant as I wish. For the Buchu, I will use a 24cm terracotta pot, 1 bag of BARK Potting soil, hand bonemeal and a bag of acid compost.
1. I begin by making a mixture of potting soil, acid compost in a ratio of 3:1, and one hand of bone meal.
2. I then place a few handfuls of the soil mixture into the bottom of the pot. I then take the Buchu out of its cover pot and place it on top of the soil so that the stem would be about 5cm below the rim of the terracotta pot.
3. Next, I take more of the soil mixture and fill up the rest of the pot level to the plant and pat it down lightly.
4. Lastly, I suggest adding any type of mulch you have around the home to conserve water. Have a look at our mulching article. As Buchu prefers acidic soil, pine needles would be ideal.
5. Lastly, I give it a thorough soaking. However, as Buchu is part of the Fynbos family, be sure not to over-water.
Chapter 5: First Planting
After letting the soil rest for two weeks I proceeded to loosen the soil. Reading the various plant labels a spaced them out in the bed so that when grown they would not crowd each other. Next, I proceeded to plant Rose Geranium, Fennel, Rose, Pineapple Sage, Camomile and Black Peppermint. Make sure not to place any plants too deep in your container or garden bed, as soil mounted against the stem can result in rot.
I did not feed the Buchu as it does not need a lot of feeding, just good watering.
5.2 Planting chilli and lemongrass
At the same time, I planted a Chilli and Lemon Grass in separate pots. I planted the chilli in a 25cm pot and used the following soil mixture: potting soil and 2 handfuls of bonemeal. I planted the Lemon Grass in a 30cm container with the same soil mixture. You can follow the same planting instructions for both.
- Ensure that the pots have adequate drainage then add some of the respective soil mixtures.
- Place the plant on top of the soil and fill in within 2cm from the rim.
- Pat soil down firmly
- Feed with Talborne Organics Vita Veg 6:3:4, water thoroughly and place in a sunny spot.
Chapter 6: First harvest and feed
Today I fed the first batch of herbs I planted as well as picked my first harvest.
I personally love using Talborne Organic’s Vita Veg 6:3:1 mix for all my edibles and can highly recommend their quality products.
I loosely scattered a handful of the fertiliser pellets on the bed, followed by a thorough watering. As the weather gets cooler one can generally reduce one’s watering regime. Also, take into account any rain that you might have received. I did not feed the Buchu as (like Proteas) it prefers more infertile soil. I just gave it a good watering.

Next, I harvested some of the rose flowers, pineapple sage, rose geranium chamomile and mint leaves. These can be picked or snipped off with a pair of kitchen scissors.
I then proceeded with my first taste test using some of the fresh rose petals, rose geraniums and Carmien’s Green Rooibos tea, with honey to flavour. The glass teapot I purchased from them is ideal if one wants to experiment with creating your own flavours.
The rest of the harvest I proceeded to dry. I simply stripped the leaves and petals, placed these on a kitchen towel and covered them with a mesh food screen.


Stay tuned for the next chapter…
(Disclaimer: This article is not intended as medical advice. Please consult your medical practitioner.)
